How To Give Subcutaneous Injection - Diagram At Bottom
1. Wash Your Hands: Begin by washing your hands thoroughly with soap and water. This step helps maintain cleanliness and prevents the introduction of contaminants to the medication.
2. Gather Supplies: Collect all the necessary supplies, including the medication bottle, a syringe, and alcohol swabs.
3. Inspect the Medication Bottle: Check the medication bottle for any signs of damage, tampering, or expiration. If the medication appears cloudy, discolored, or has visible particles, do not use it. Follow proper disposal procedures for expired or compromised medications.
4. Clean the Rubber Stopper: Clean the top of the medication bottle with an alcohol swab. This helps to maintain sterility and prevent contamination when the needle pierces the stopper.
5. Draw Air into the Syringe: Before drawing medication, make sure the plunger of the syringe is pushed all the way down. Then, draw an amount of air into the syringe that is equal to the dosage of the medication you need to withdraw. This step helps equalize pressure within the vial.
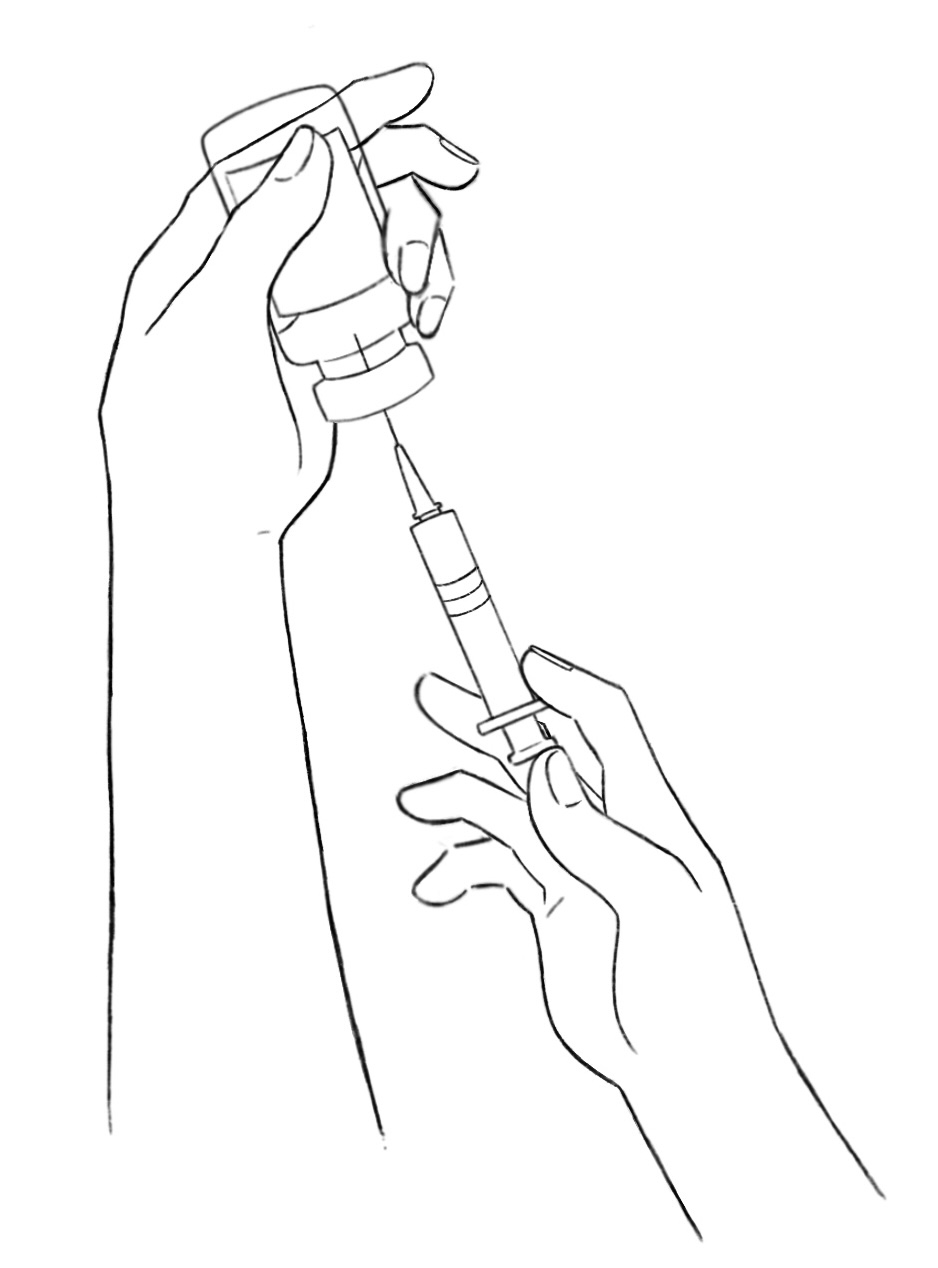
6. Insert the Needle: Hold the syringe like a pencil in your dominant hand. With your other hand, remove the needle cap and avoid touching the needle. Insert the needle into the rubber stopper of the medication bottle at a 90-degree angle.
7. Inject Air: Push the plunger to inject the air you drew into the syringe into the medication bottle. This step makes it easier to withdraw the medication.
8. Invert the Bottle: With the needle still in the bottle, turn the bottle upside down, ensuring that the tip of the needle is submerged in the medication.
9. Draw Medication: Slowly pull back on the plunger, withdrawing the medication into the syringe. Make sure you are withdrawing the correct dosage as prescribed by your healthcare provider.
10. Check for Air Bubbles: After drawing the medication, tap the syringe to dislodge any air bubbles that may have formed. Push the plunger gently to expel any air bubbles back into the vial, if necessary.
11. Remove the Needle: Carefully remove the needle from the medication bottle. Avoid touching the needle tip to maintain sterility.
12. Prepare for Injection: Choose an appropriate injection site. Common sites for subcutaneous injections include the abdomen. Ensure you rotate injection sites to prevent tissue irritation.
13. Clean the Injection Site: Take an alcohol swab and clean the chosen injection site. Rub the swab in a circular motion and allow the area to air dry completely before moving on. Carefully remove the needle cap from the syringe, being cautious not to touch the needle itself. Hold the syringe with your dominant hand, gripping it as you would a pencil.
14. Pinch and Lift Skin: With your non-dominant hand, gently pinch and lift a fold of skin at the cleaned injection site. This helps create a small, raised area for the needle insertion.
15. Insert the Needle: Depending on the length of the needle and the amount of subcutaneous tissue, determine whether to insert the needle at a 45-degree or 90-degree angle. Insert the needle smoothly and steadily into the raised skin fold.
16. Inject the Medication: Slowly inject the medication by gently pushing the plunger with your dominant hand. Take your time to ensure a controlled and steady administration of the medication.
17. Withdraw the Needle: Once the medication is fully injected, smoothly withdraw the needle from the skin.
18. Apply Pressure: Release the pinched skin and promptly press a cotton ball or sterile gauze over the injection site. Apply gentle pressure for a few seconds to help prevent any bleeding and to minimize the risk of bruising.
19. Dispose of Supplies: Properly dispose of the used syringe and needle. Place them immediately into a designated sharps container. This container should be puncture-proof and tightly sealed to prevent accidental exposure to used needles.
 Version Two.jpg)